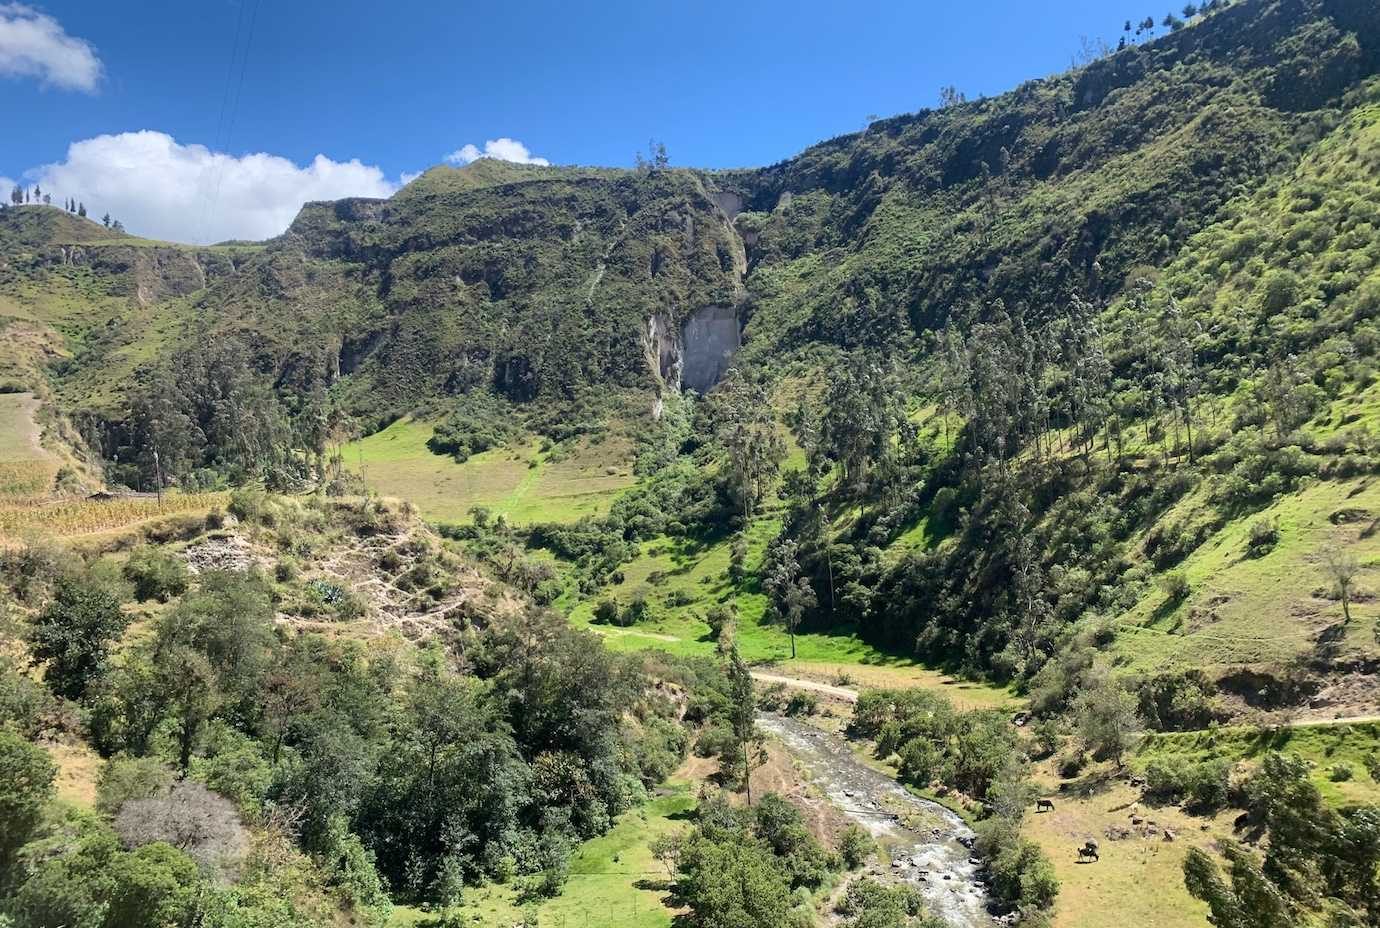
The Quilotoa Loop is a multi day hike through the Cotopaxi region that passes through valleys, rolling hills, small villages and either starts or finishes at the Quilotoa crater lake.
How many days is the trek?
The great thing about the Quilotoa Loop is that it’s flexible. It’s 40km and can be done in 2-5 days. The number of days you do depends on how much time you have and how many days you’d like to put aside for it.
I’d say 3 days/2nights is the most common trek length chosen and is the one I went for. I did end up extending with a night in Quilotoa as I was in no rush to get back to Latacunga.
For those short on time or who just want to see the lake, you can also do a day trip from Latacunga on the buses.
Direction of the trek – Choosing a start point
You can hike the trek in both directions, either starting or finishing at Quilotoa crater lake.
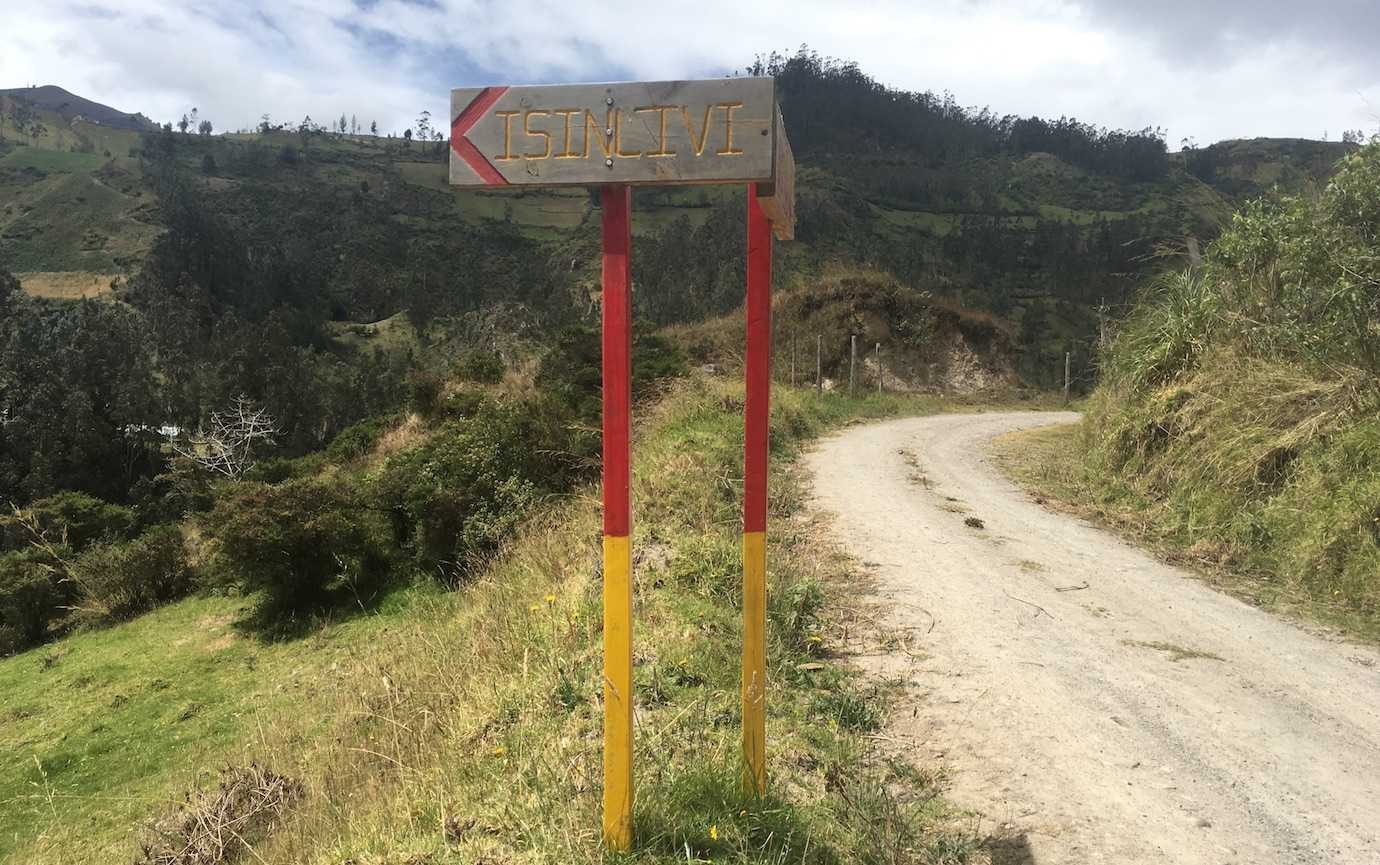
To end at the crater lake, you’ll normally start in the village of Sigchos. Your route will look like this: Sigchos-Isinlivi-Chugchilan-Quilotoa. Starting in Isinlivi is also an option.
If you start at the lake, you’ll be doing the route mentioned above in reverse. I’ve read several blogs saying the reverse route is easier as there’s more downhill. Having now done it, I’d agree with them. There’s still some hard uphill parts, but overall you’re descending in altitude.
Irrespective of downhills, I was keen to finish my hike at the crater lake so I opted to start in Sigchos.
The Quilotoa Loop
Day 1 – Sigchos – Isinlivi
I started the day by getting the bus from Latacunga to Sigchos. The journey took 2.5hrs and cost $2.30. There’s morning departures at 6am, 8am, 9.30am, 10am and 12pm. There are later ones in the afternoon, although if you want to start walking the loop the same day I wouldn’t recommend.
I went for the 8am one so I could arrive to my hostel mid-afternoon. I was staying at the recommended Llullu Llama hostel and was keen to use the hot tub!
The bus passed through Isinlivi before Sigchos which I wasn’t expecting and struck me as weird since I’d be walking back to Isinlivi to stay the night.
Getting off the bus in Sigchos, it was only me starting the hike which did surprise me. I wasn’t really expecting to start solo! I found a tourist information for a map for my day’s hike.
Tip: Starlight Inn in Sigchos will give you a written instructions map for the hike to Isinlivi. I found this reassuring!
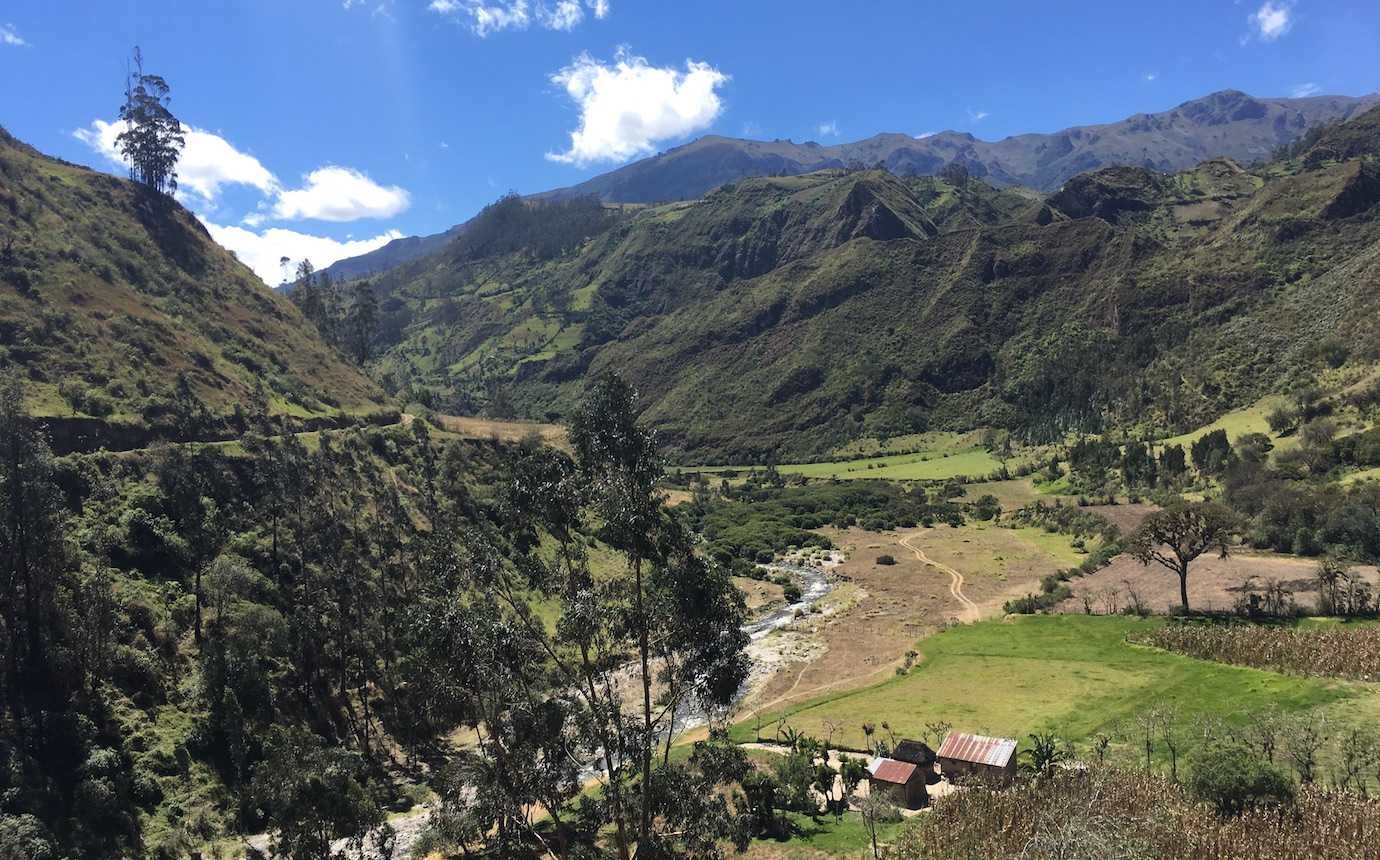
For most of the walk, it was just me and the rolling green hills. The views were great and I enjoyed my own company. Very peaceful!
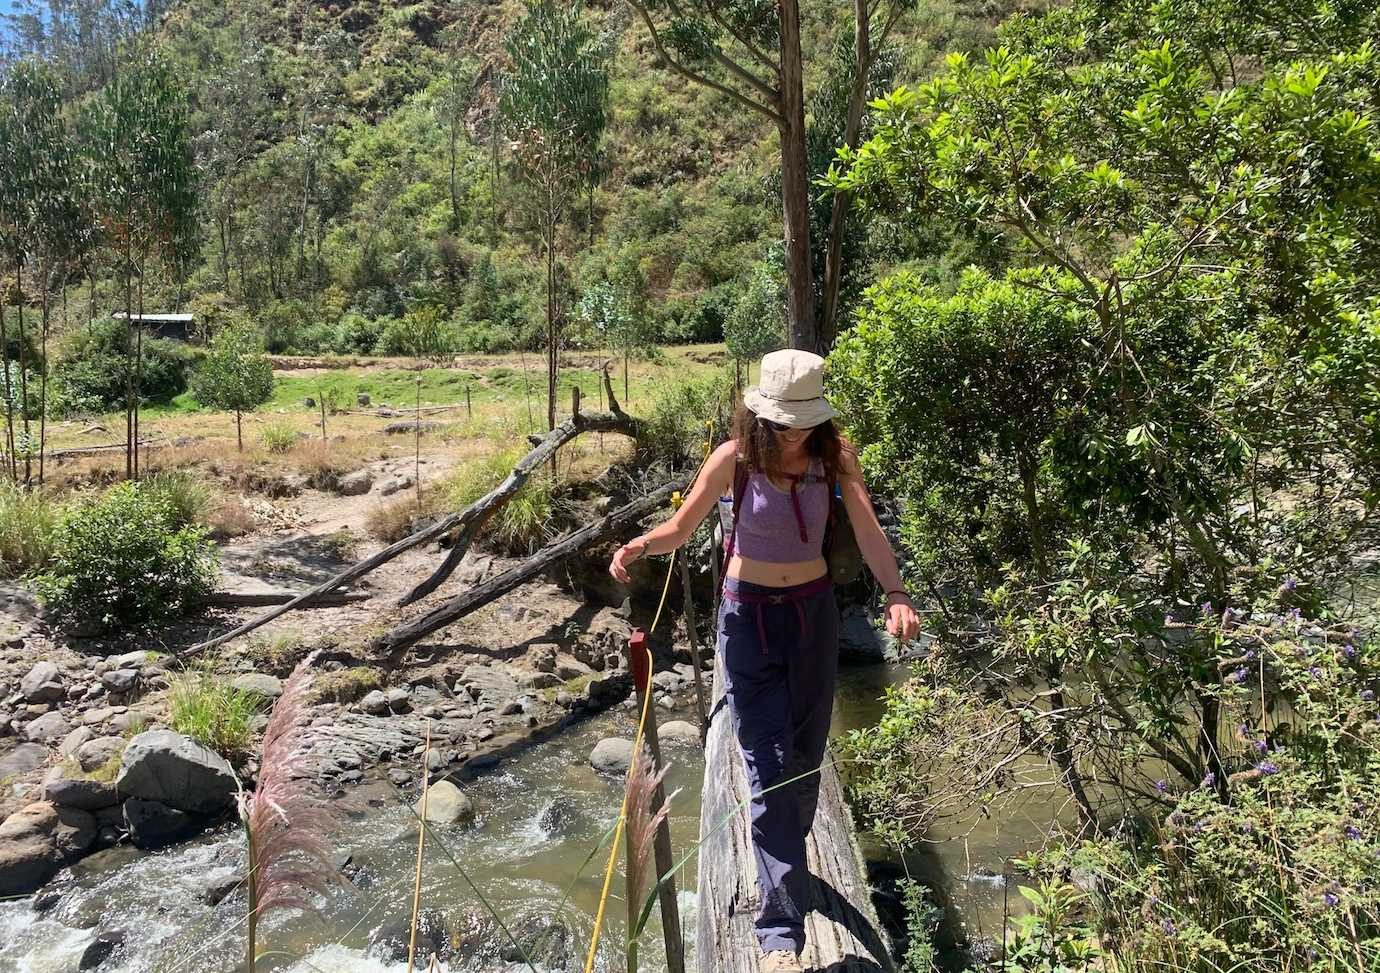
About halfway I met a lovely Australian couple going the same way. I almost walked with them, but chose to stop for lunch by the river instead. I did think I’d catch up with them later.
I was mistaken because low and behold I got lost! Well not really lost, I knew where I was (in a field) but for the life of me I couldn’t find the trail up the hill which was supposedly well marked by red and yellow rocks.
I did get a bit edgy and uneasy, especially as I was alone. I did wish I’d walked with the couple I’d met earlier on!
I didn’t find a single yellow or red rock and the “obvious” main path could have been several. I even retraced my steps and couldn’t see anything different.
Knowing I had to get to the top of the hill for the road, I started walking straight up and spotted a local man walking. A gesturing and shouting conversation followed where the man pointed me straight up.
He even waited for me and we walked the final part together. Thank you Jorge!! I would’ve got there myself but his help really reassured me and I felt not so alone.
Losing the path on the Quilotoa Loop does seem to be quite a normal occurrence. I laughed about it later that already on Day 1 I got slightly lost.
From the top of the hill, it was a straightforward walk along the road to Isinlivi and the Llulu Llama hostel.
Llullu Llama is incredible!! One of the best hostels and hands down a must stay if you do the Quilotoa Loop. In the afternoon, I relaxed in the hot tub and did a yoga class.
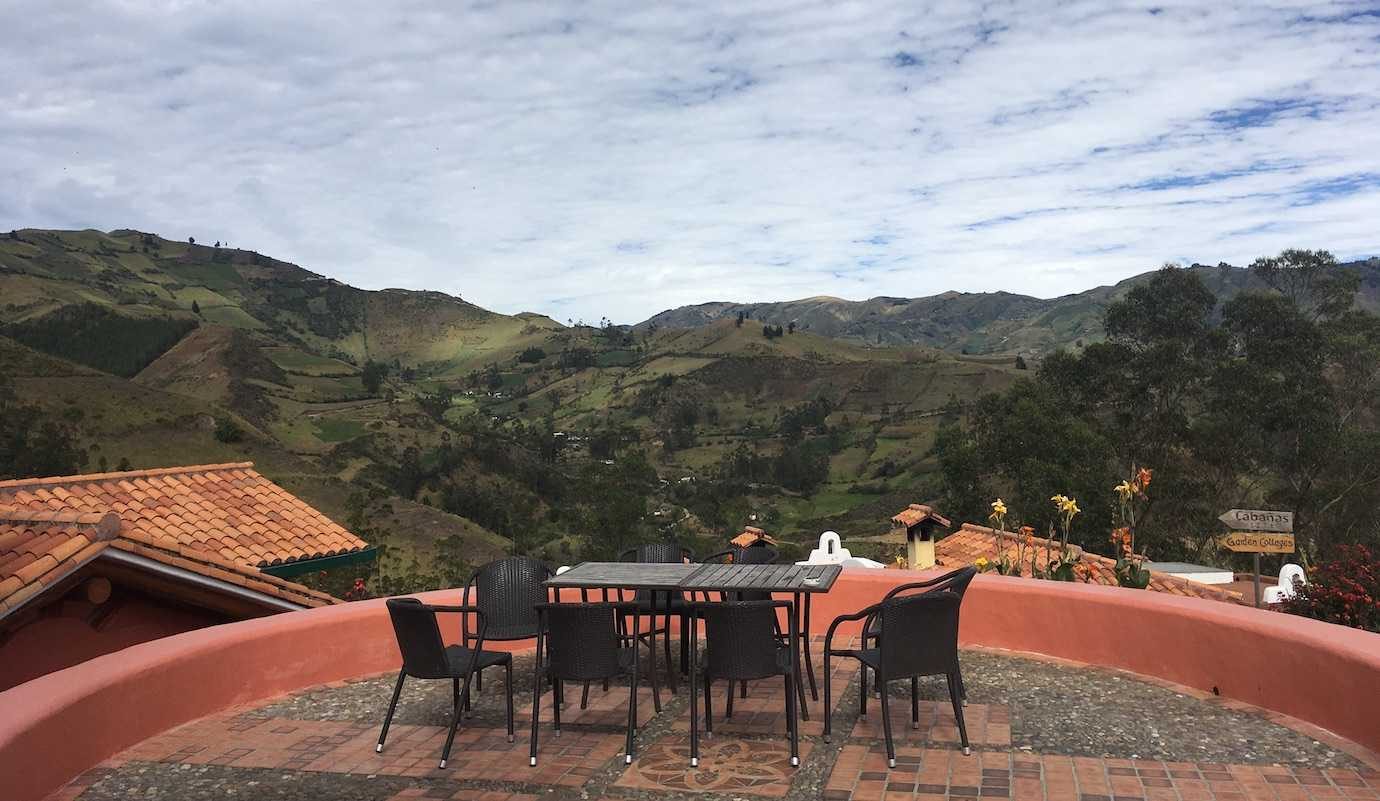
Dinner was delicious – courgette soup, chicken quiche and apple cake!! Breakfast was also fab the next morning and I even did a second yoga class before it. It was a wonderful stay and the social vibe was great!!
Hours walked: 4hrs (including getting lost, I reckon just over 3 without the lost part)
Distance walked: 14km
Day Two – Isinlivi – Chugchilan
I started the day with a second yoga class which felt really good and followed it with a really tasty fresh fruit, granola, scrambled egg breakfast.
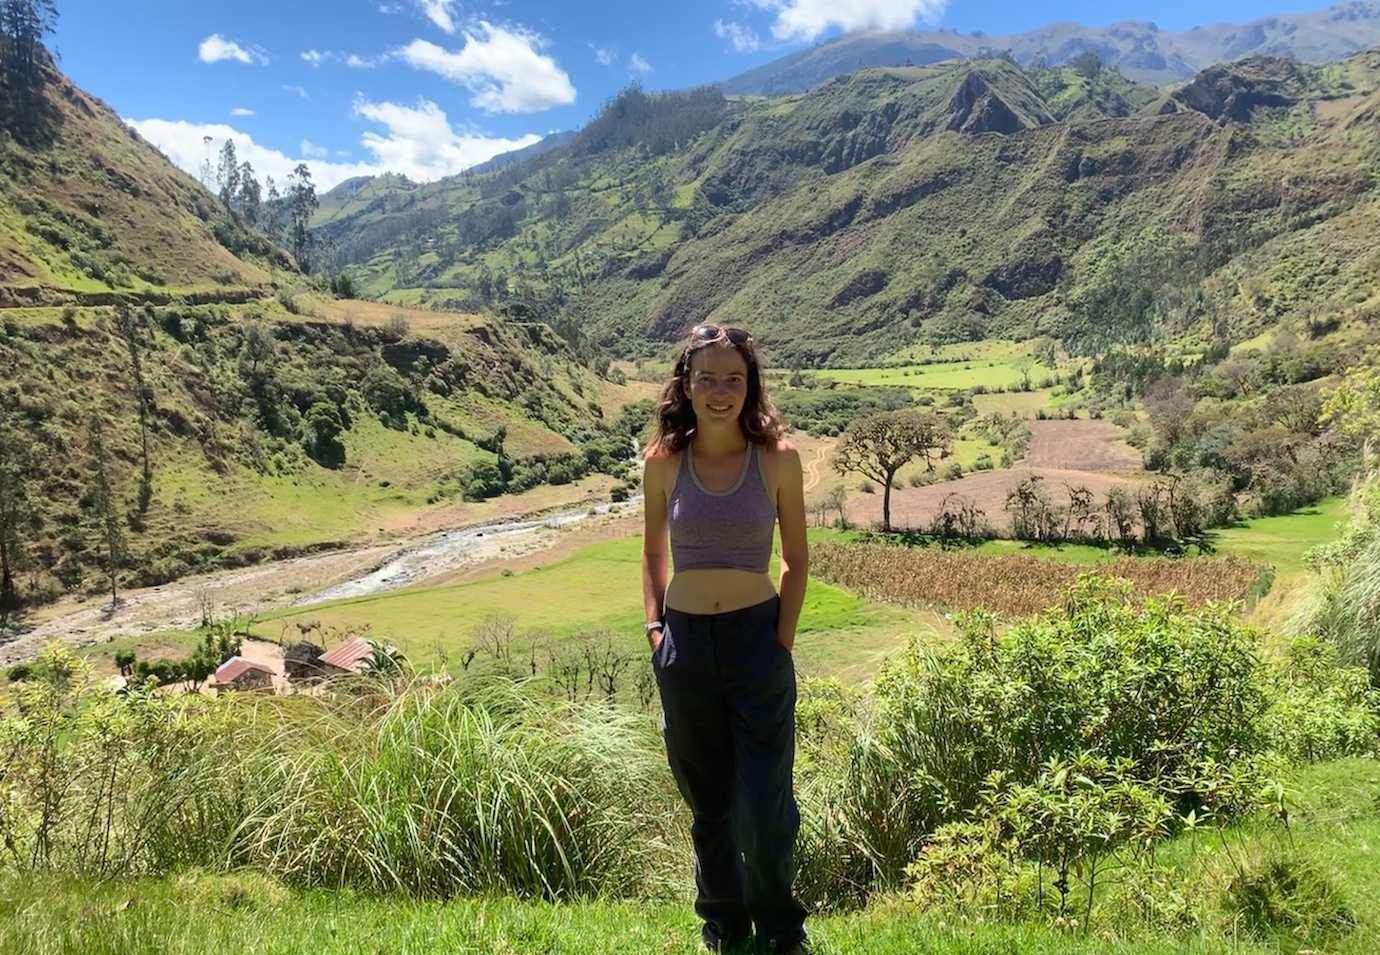
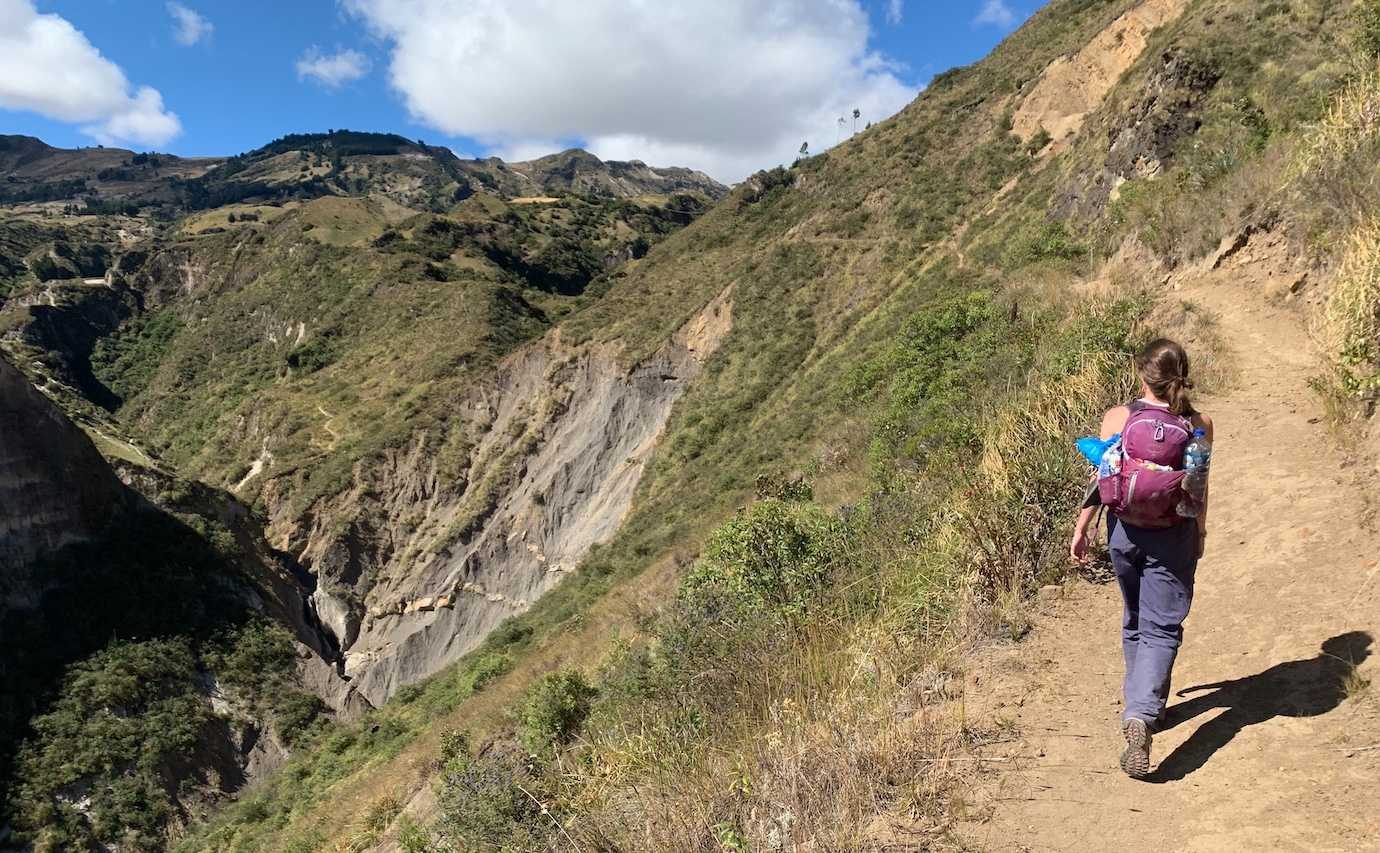
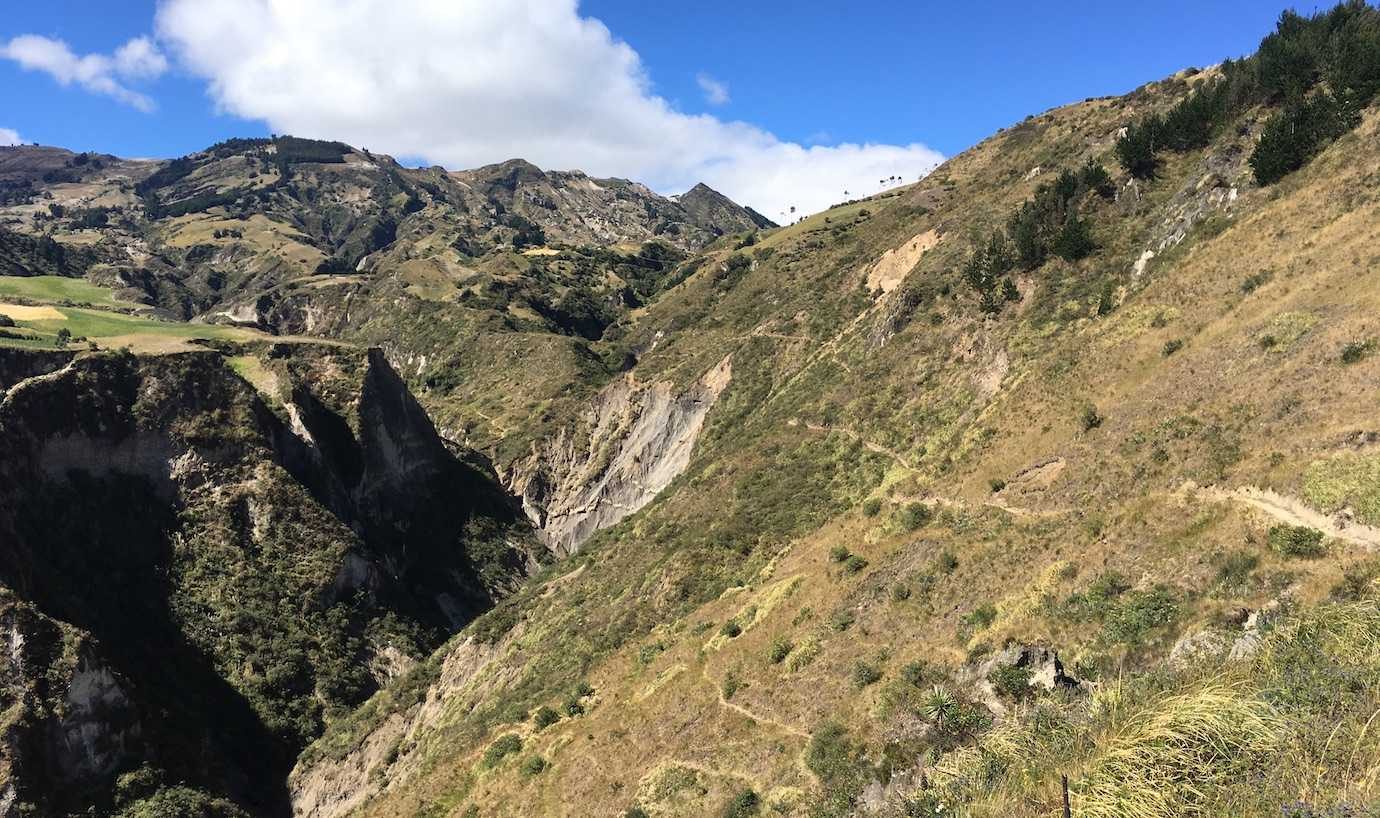
The hardest part of the day was the steep incline on a dusty trail after passing through the village of Itaulo. The views were beautiful and it wasn’t too bad.
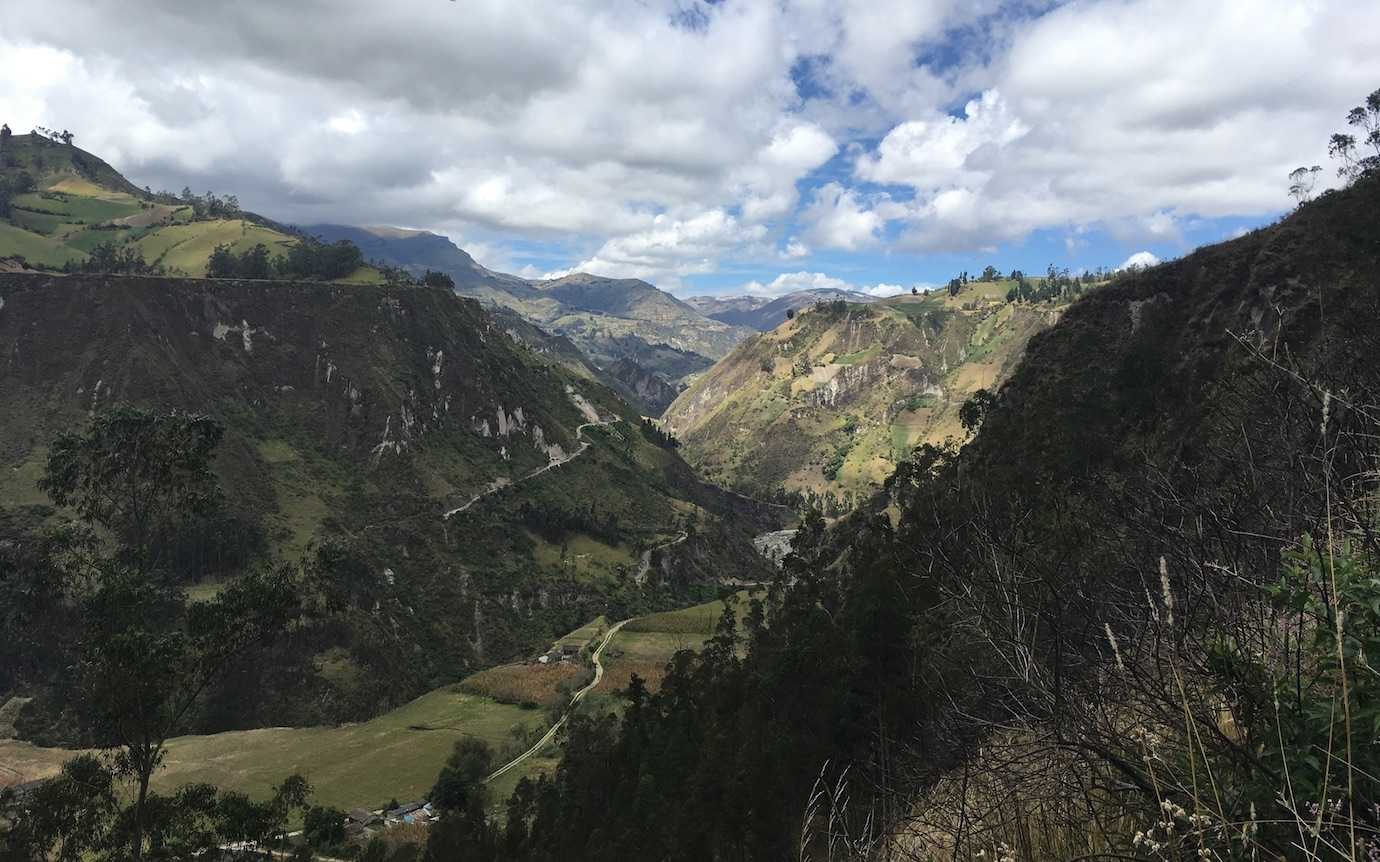
The rest of the walk was a mixture of ups and downs, and was really enjoyable. The weather was lovely, blue sky and sunshine!

The final stretch to Chugchilan, along a tarmac road, wasn’t particularly interesting and we made it to the hostel in good time.
Hours walked: 4.5hrs
Distance walked: 13km
Day Three – Chugchilan – Quilotoa
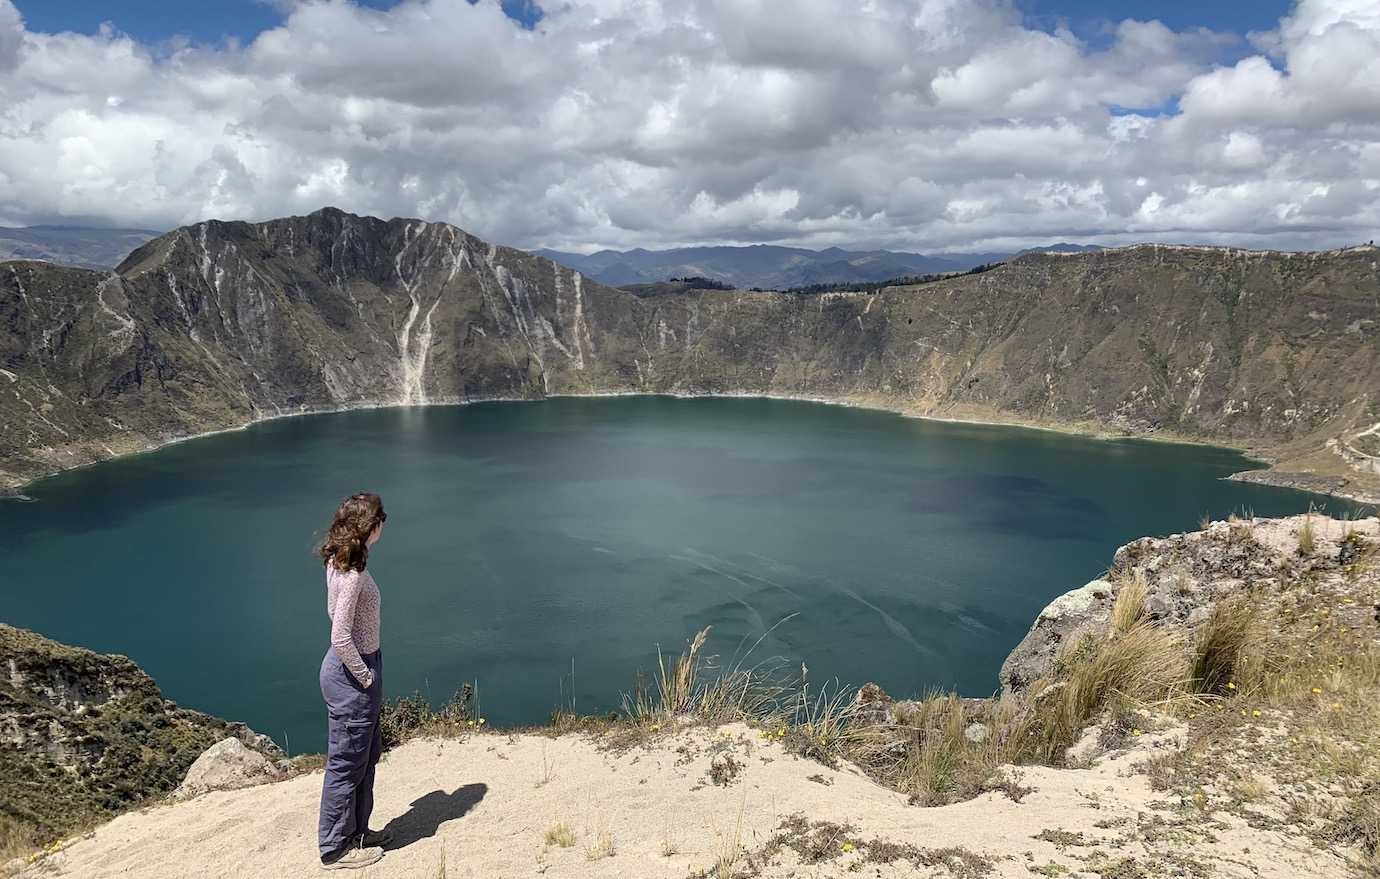
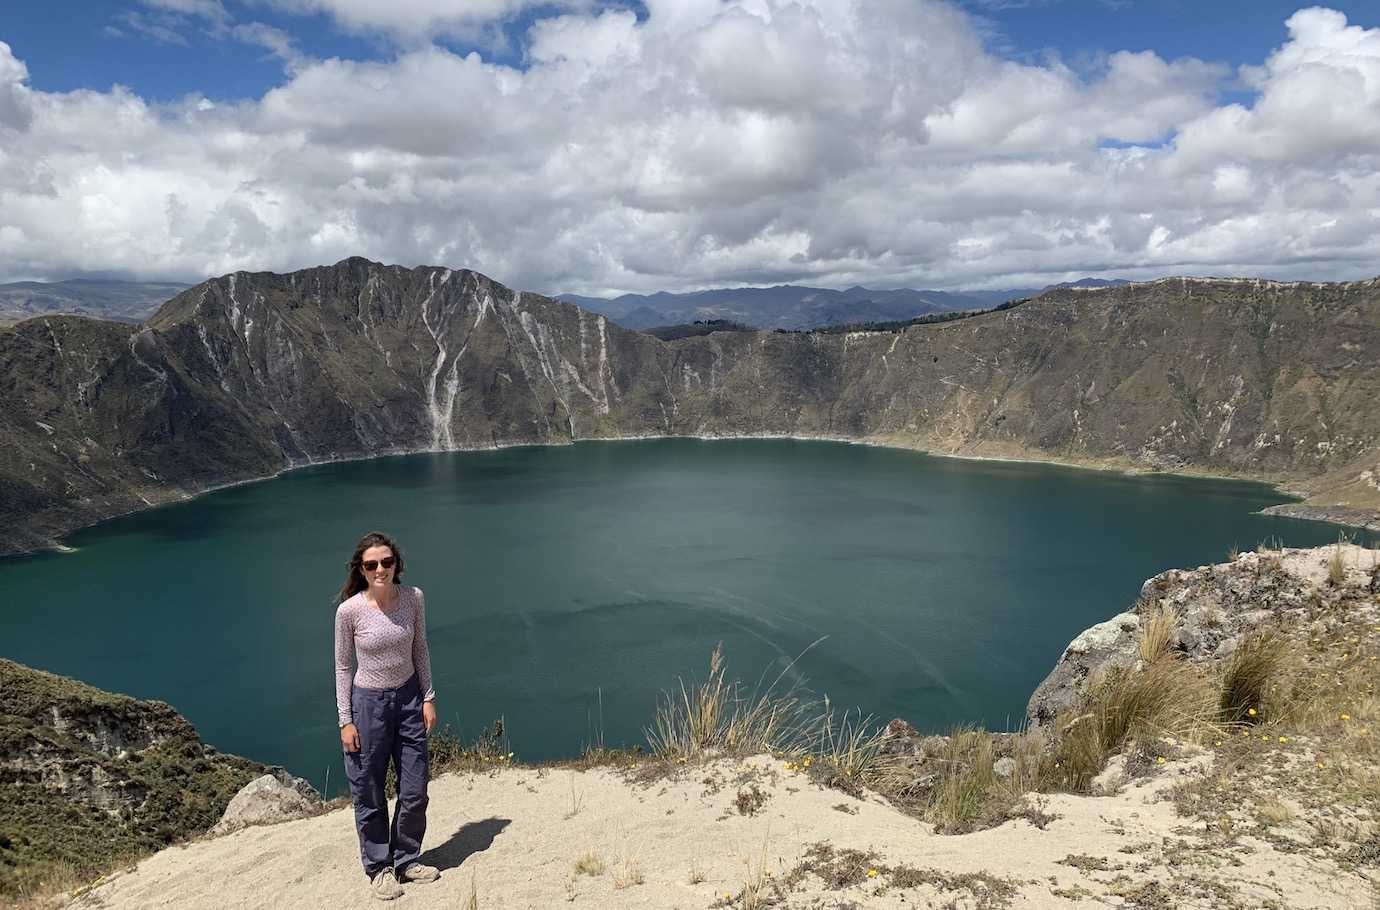
The last day of hiking and the day we’d reach Quilotoa Lake! It was the hardest day with multiple steep uphill climbs and ever increasing altitude.
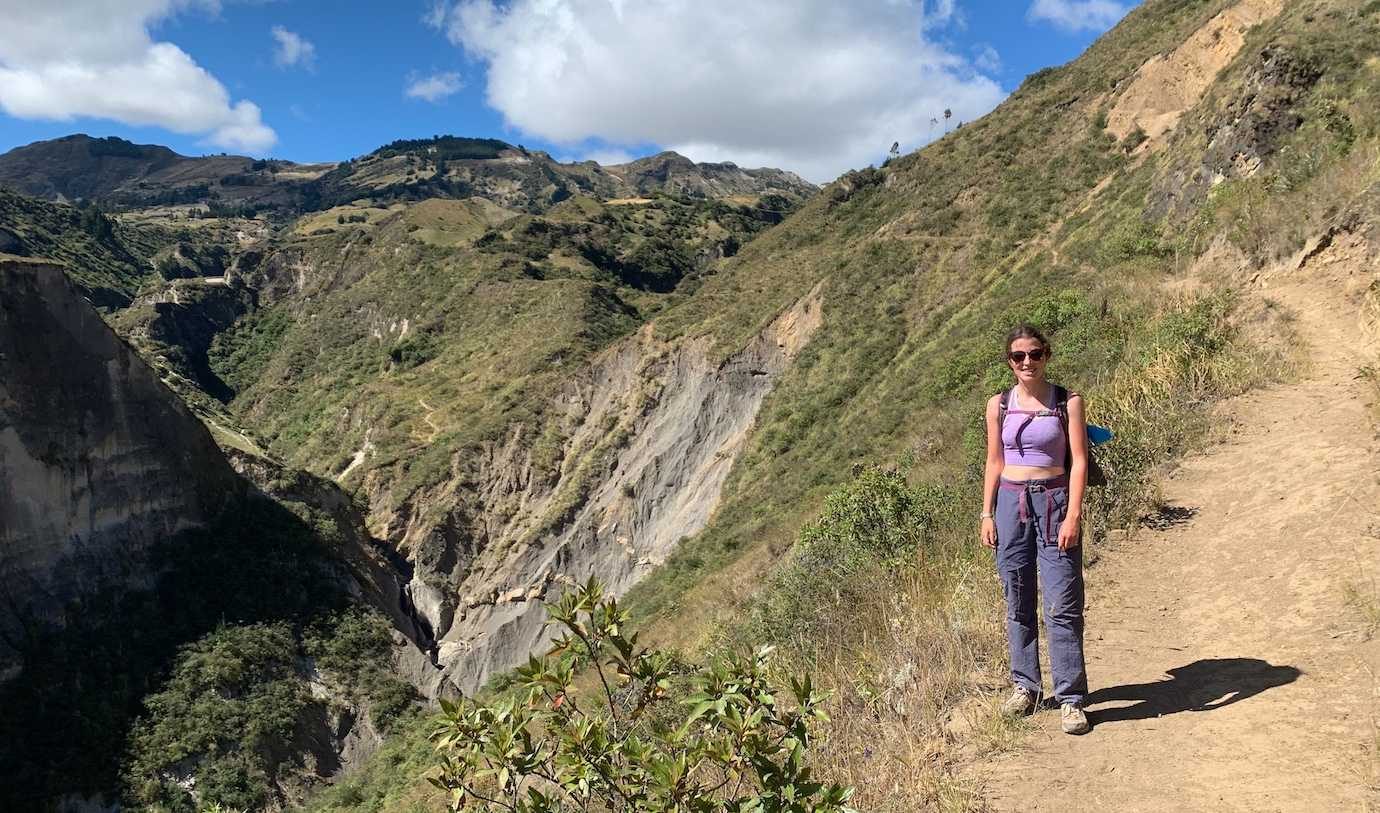
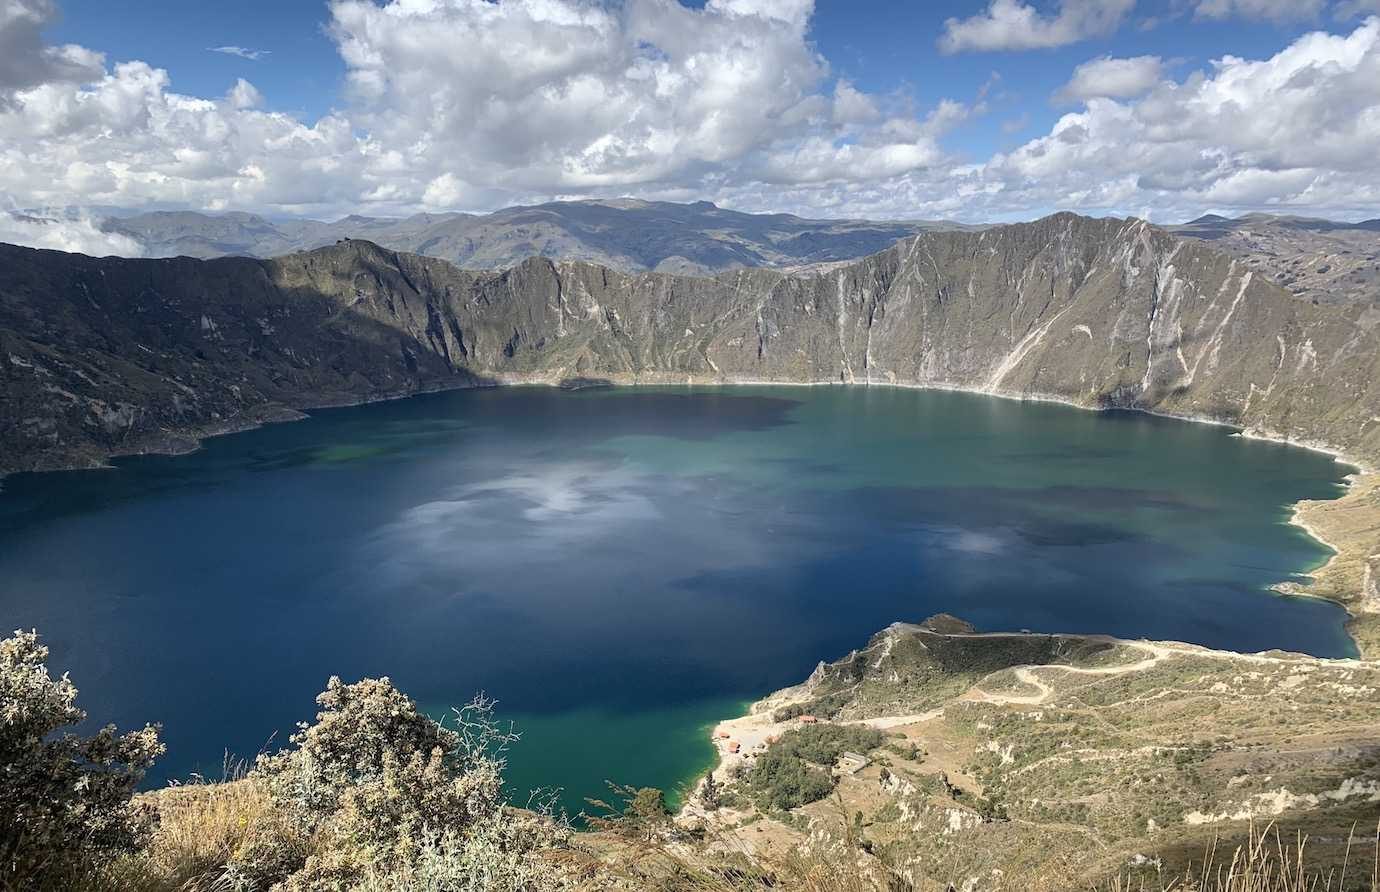
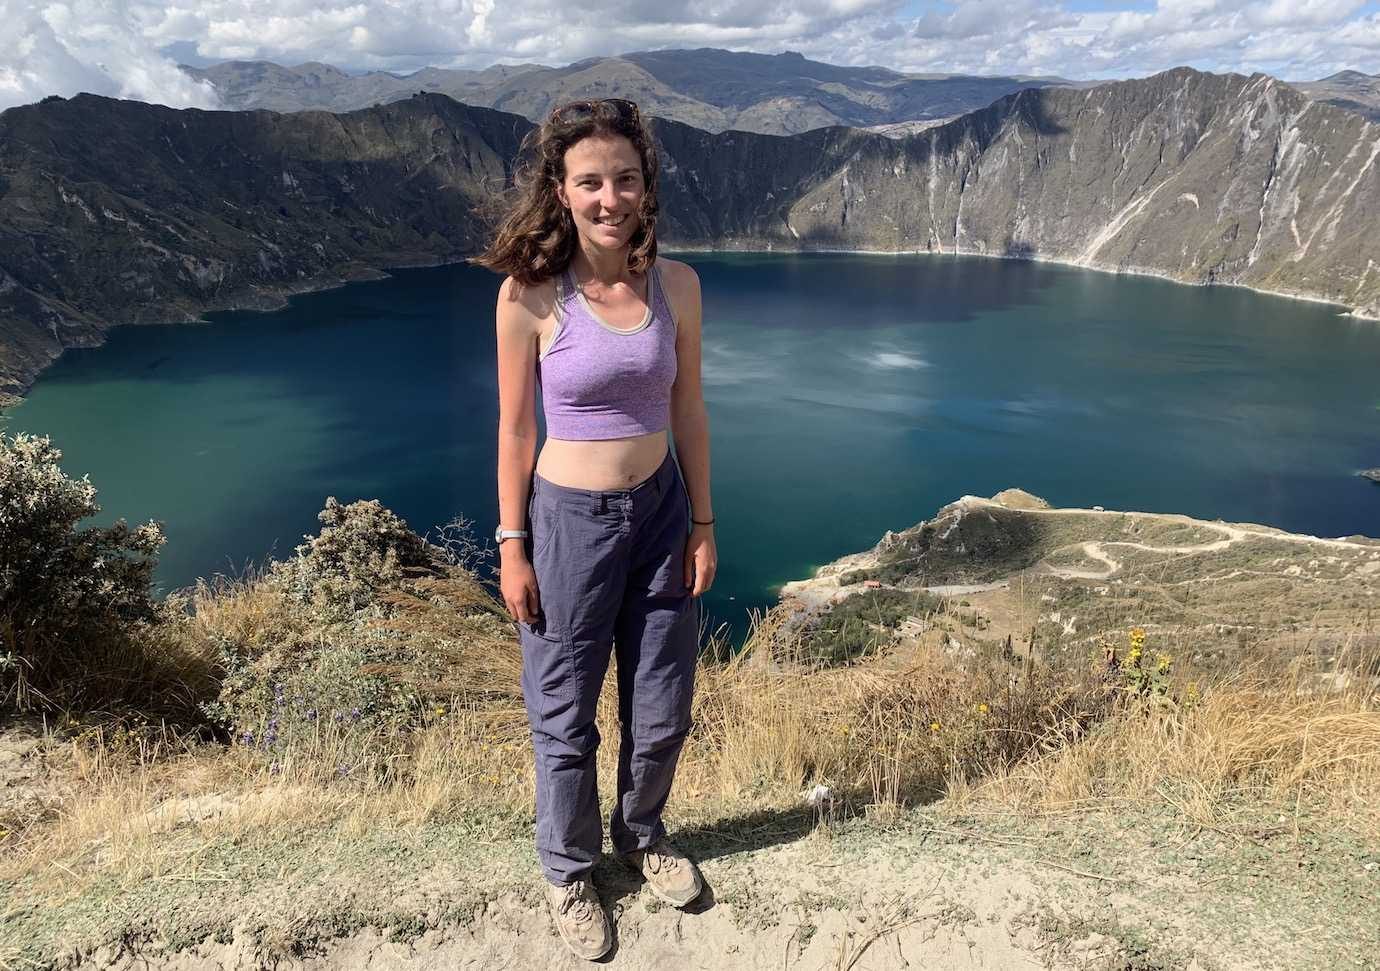
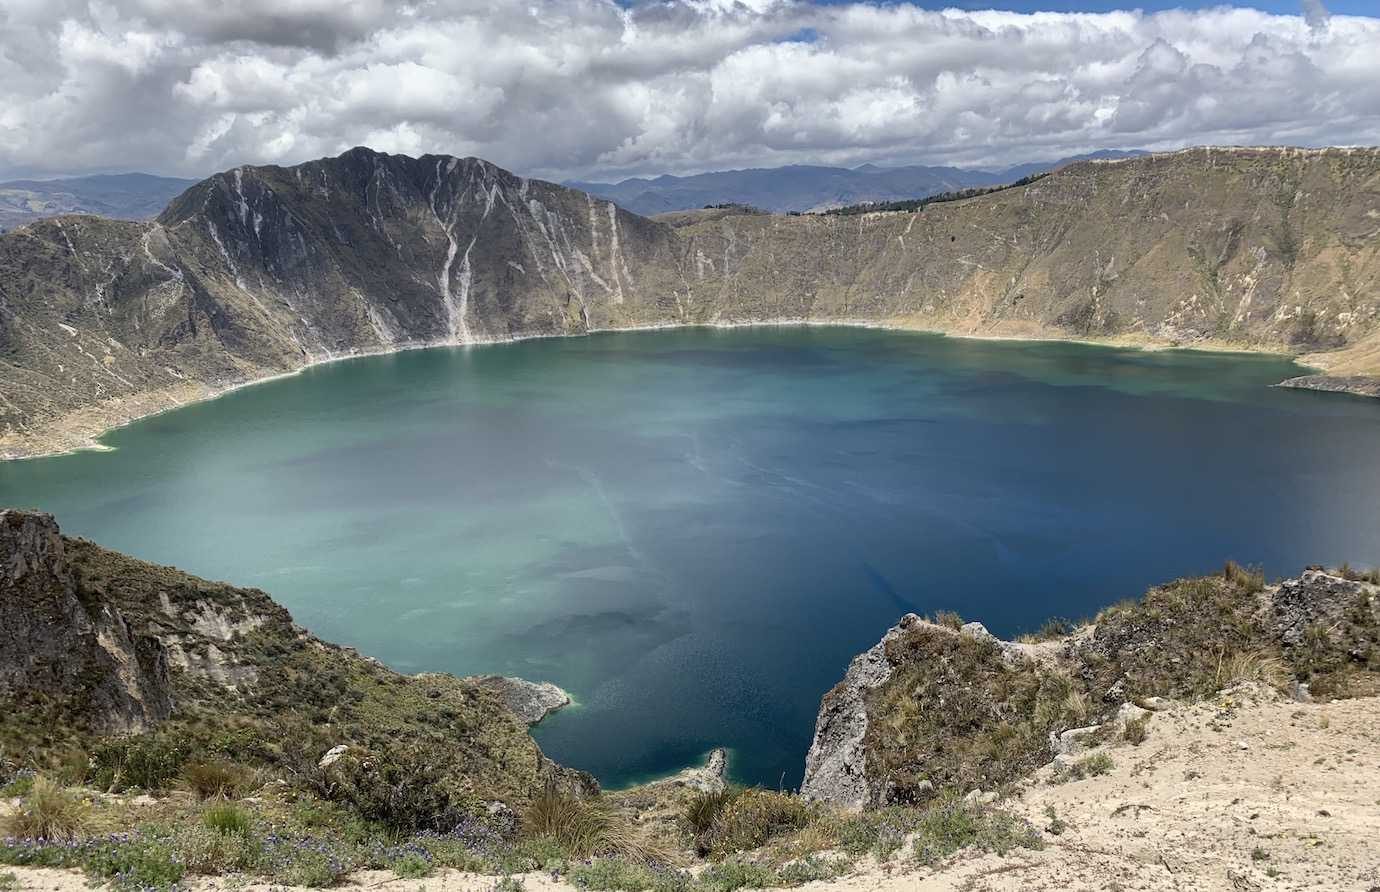
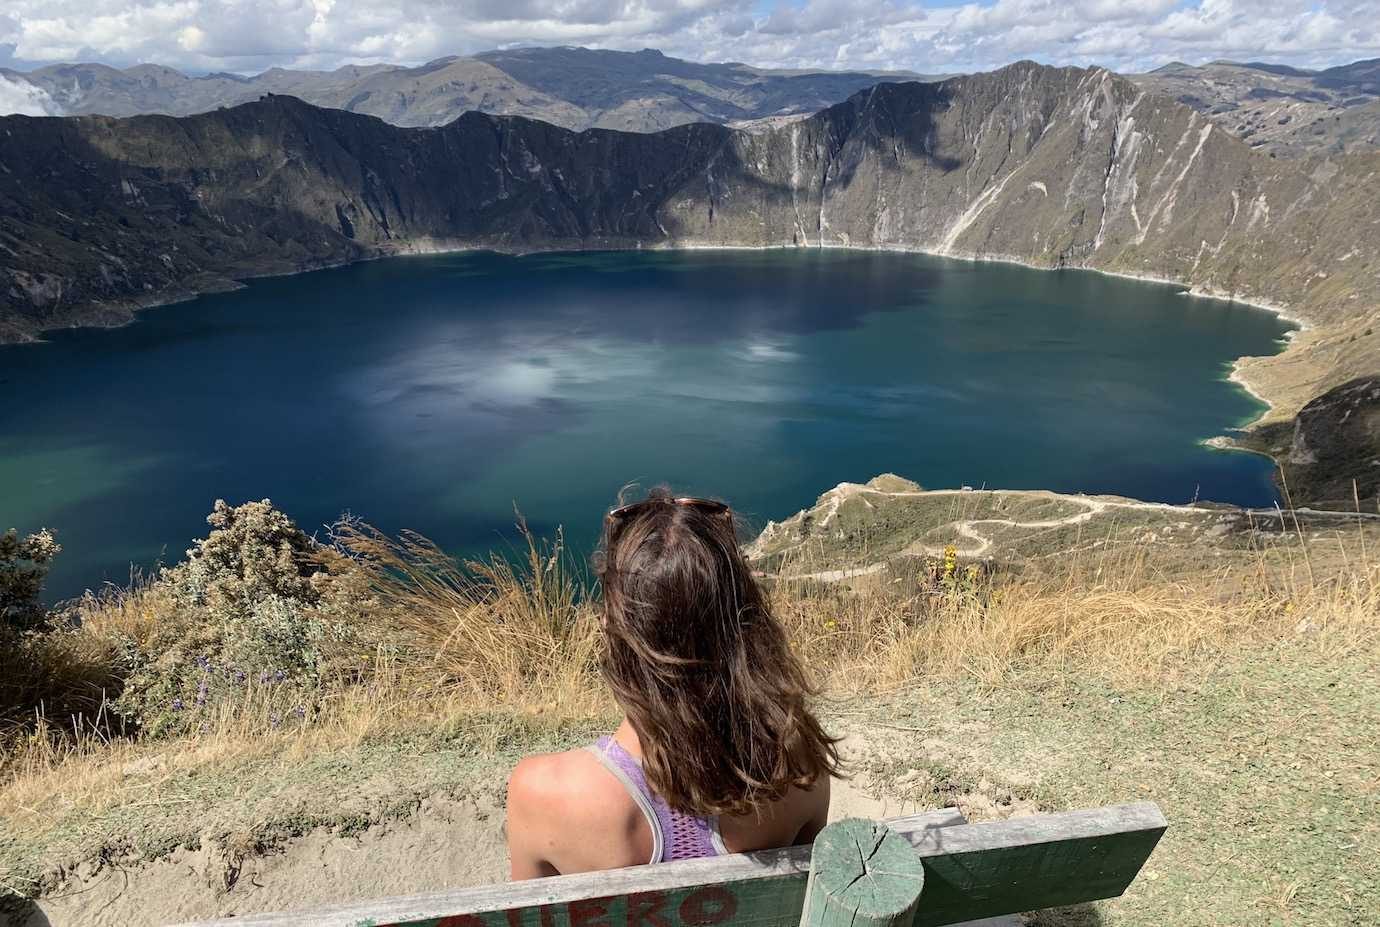
It was another beautiful hike with stunning views! We reached the lake at midday and were so happy with what we saw. Such a gorgeous blue expanse of water! At 3900m, in the wind and once stopped, I quickly needed to put on layers!
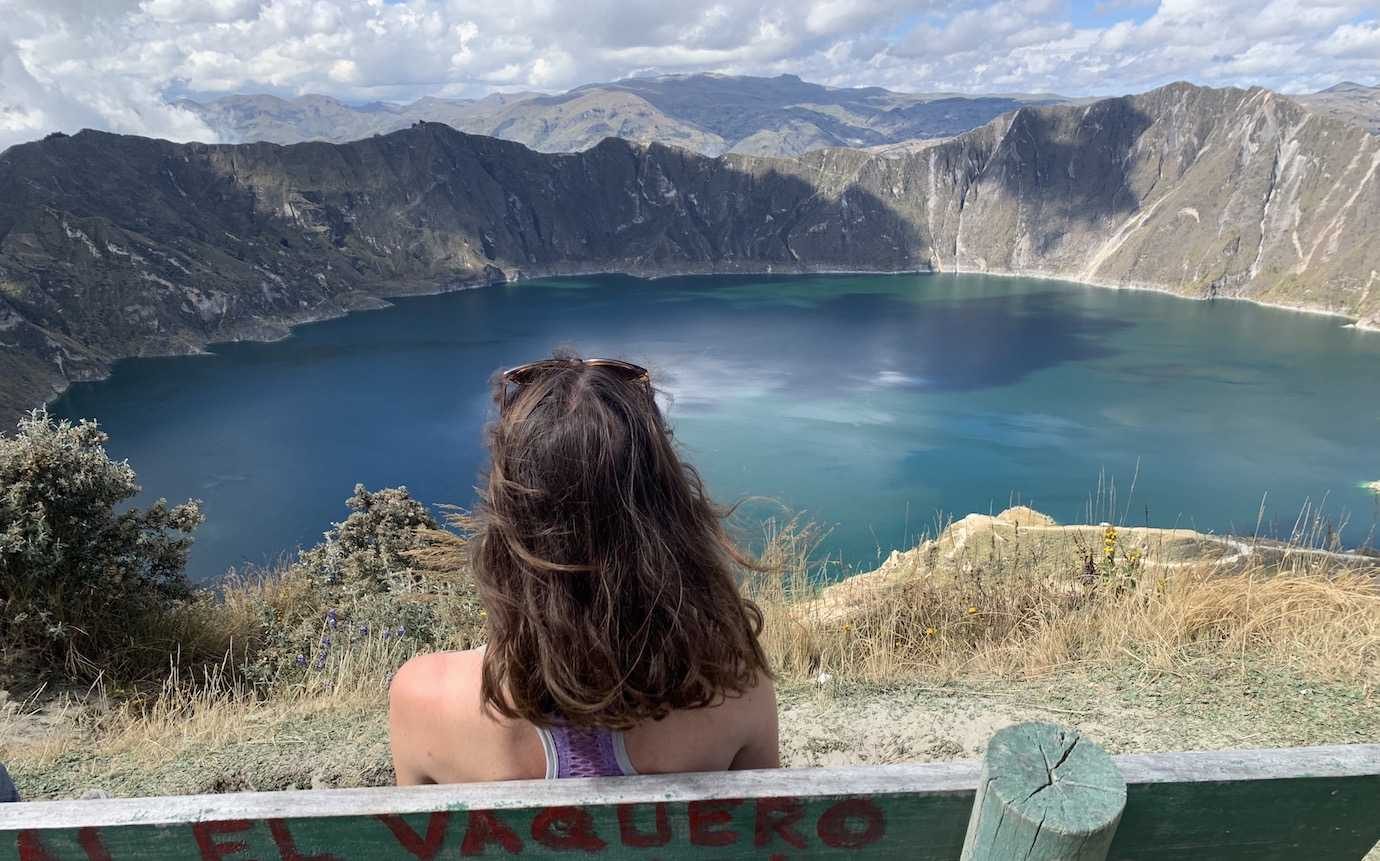
The trickiest part of the day for me was surprisingly the walk around the lake. From the first viewpoint, there were several trails to choose from.
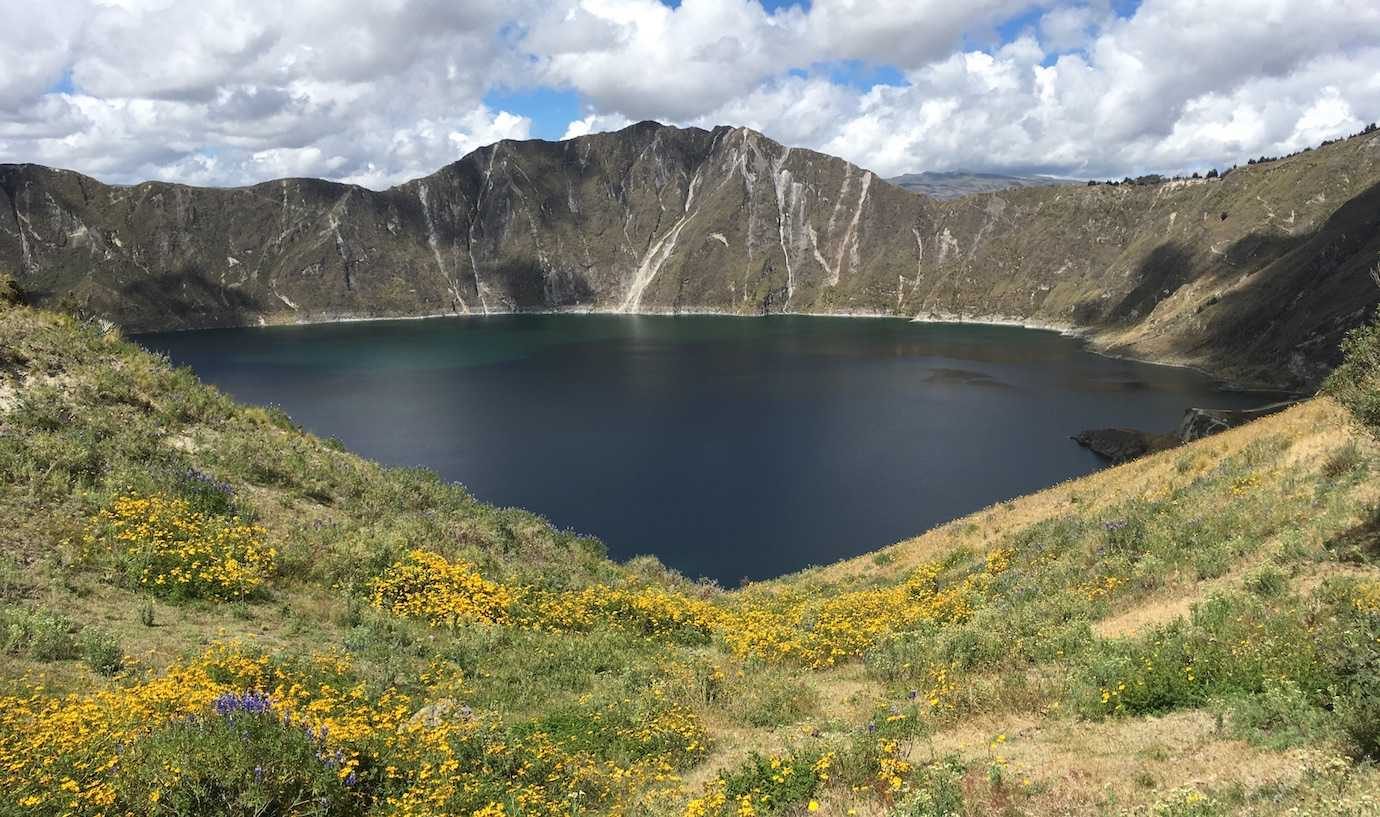
Following the example of those who’d gone before, we went with the left hand trail. It started off ok, but soon became harder. There were some steep slippery descents and a few narrow exposure sections which had me on edge – I slipped on my bum a few times. We then had to hike up to the crater’s rim again. So yay more uphill!
In hindsight, walking along the crater’s rim would have been easier and the trail I’d recommend others take!
I was so thankful we didn’t do the longer route around the other side. We’d considered it at breakfast that morning. However, once at the lake we decided the longer route wasn’t necessary. The views from all angles were stunning!
We finished the walk mid afternoon which is in good time to get the bus back to Latacunga. If you don’t fancy heading back to Latacunga the same day, spend the night in Quilotoa and return the following morning.
I’d originally planned to get the bus back the same day but I had the time so stayed the night in Quilotoa.
Tip: I wouldn’t book accommodation for Quilotoa. There’s lots of places to stay and they won’t be full. You can then keep your options open, whether you bus back the same day or stay depending on how you feel. You’ll get a better deal than on Booking.com.
Hours walked: 6hrs
Distance walked: 12km
Day Four – Sunrise and Back to Latacunga
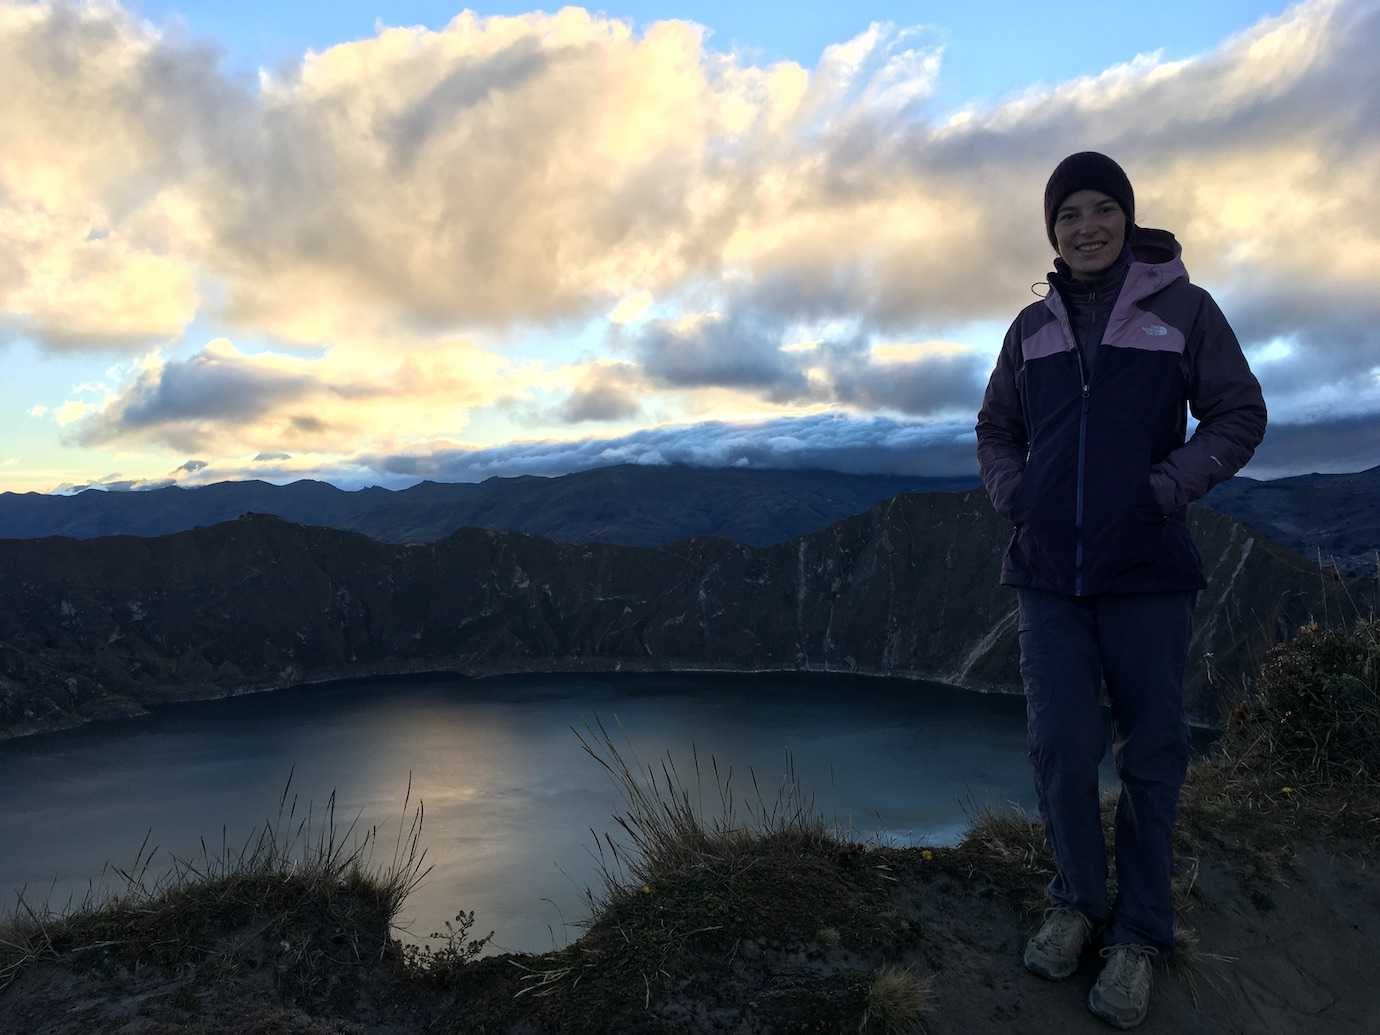
I took advantage of staying the night to see the sunrise over the lake. I wore all my layers and headed to the viewpoint at 6.15am. Low hanging clouds did hide the sun for the most part. When the sun broke through, the orange glow on the lake was beautiful. It still was a sunrise worth getting up for and I’m glad I did!
I went back to sleep for a bit before breakfast, went to see the lake one last time and then got the bus back to Latacunga.
Finding out bus times was surprisingly tricky. No locals seemed to know exactly and we were told different things. Buses from Quilotoa to Latacunga seemed to go every 2hrs and the next one was apparently at 11am.
Instead of waiting till then, we got a camioneta to Zumbahua ($1 or $2 per person depending on how many you are) where we then caught a bus back to Latacunga ($1.50). We didn’t have to wait long, from Zumbahua there’s one every 20-30mins.
What to pack
For a three day trek where you’ll be staying at hostels along the way, you only need a day rucksack. I used my Osprey Daylite 20L. A 25L pack would have been a bit roomier It was a bit of a tight squeeze but I managed.
The weather can change quickly and since it’s at altitude does get cold. so do pack layers and waterproofs.
Here is what I packed…
- 1 Uniqlo heat tech long sleeve top
- Sports bra
- A T-shirt
- Walking trousers
- Waterproof trousers
- A fleece
- A down jacket
- A waterproof
- A poncho
- Thermals: Uniqlo extra warm heat tech long sleeve top and bottoms
- Pj bottoms
- Pair of walking socks
- Cosy socks for hostels
- Spare pants and bra
- Flip flops (I like a change of shoe after hiking!)
- Hat, buff, gloves
- Sunhat and sunglasses
- Bikini (for hot tub at Lulullama hostel)
- Dry bags and plastic bags (for rainy days!)
- Food: snacks (biscuits, sweets) and lunch (cream cheese, cucumber and bread)
- Toiletries: toothbrush, toothpaste, deodorant, hand sanitiser, toilet paper, suncream, insect repellent
- My tiny put together first aid kit: plasters, antiseptic cream, tiger balm, paracetamol, ibuprofen, imodium
- Camera
- Powerbank, adaptor plug and charger cables
- 2L water bottle
I did question at first the need for all the layers, especially as I was walking in my sports bra in the sunshine every day and the hostels were quite warm. I’m really glad I had them later on as Chugchilan and Quilotoa were cold in the evenings!
It was a bit of a squeeze but I managed. I don’t think my tub of cream cheese and cucumber helped me much space wise but hey!
How much does the loop cost?
Hiking the Quilotoa Loop is pretty budget friendly. Accommodation will be your main expense with hostels costing around $15-20 per night. It might sound a bit pricey but a stay includes a filling breakfast and a 3 course dinner which is well worth it!
You can buy packed lunches from the hostels ($5) or eat in the villages. Keeping costs down, I brought sandwich fillings for lunch and snacks with me from Latacunga, buying bread for sandwiches in the villages.
Transport to and from Latacunga is around $5. A bus to Sigchos is $2.30 and to Quilotoa $2.
In total, I spent approx $40 for 3 days/2nights. With the extra night in Quilotoa, this became just under $60. I did take enough cash with me just in case!
Note: There are no ATMS on the loop so bring cash.
Tip: To hike the loop, you’ll be leaving your big rucksack in a hostel in Latacunga. Some hostels charge $1-2 a day to leave bags in storage. I’d read hostel reviews and choose one with free storage. I went with Hostel Latacunga.
I thought it was great value for one of Ecuador’s highlights!
Final thoughts
I loved the Quilotoa Loop – gorgeous scenery, wonderful weather, met great people and the lake was stunning! It’ll go down as one of my Ecuador highlights!
I would 100% recommend the hike to anyone considering going to the lake. The whole experience was fantastic!
Staying at Llullu Llama hostel on the first night was the best. It’s incredible! Hands down one of the best hostels I’ve stayed at! Free yoga classes, hot tub, delicious family style dinner and a lovely social atmosphere! It was so tempting to stay another night!
Trek wise, it’s not the best marked trek I’ve done. Despite there being red and yellow markers, using Maps.Me, and a written map to aid me, I did get slightly lost and confused on the first day.
Losing the trail at some point is all part of the Quilotoa experience and you will get back on track! I really recommend having Maps.Me!!
I’d describe the trek as hard due to some steep climbing uphills (every day there was a tough uphill section), increasing altitude and slippery loose gravel trails. However, that said, I did expect it to be harder than it was. It wasn’t constantly uphill; there were plenty of flat and downhill parts too.
If I was to do it again, I probably wouldn’t stay the night in Quilotoa. Or if I did, I definitely wouldn’t book ahead of time. I’d rock up and find a hostel there and then.
Finally, I really recommend doing the loop ending at Quilotoa Lake. It’s the perfect way to end the hike and the icing on the cake!!
My next stop is Cotopaxi where I’ll be spending a few days at the backpacker recommended Secret Garden hostel!