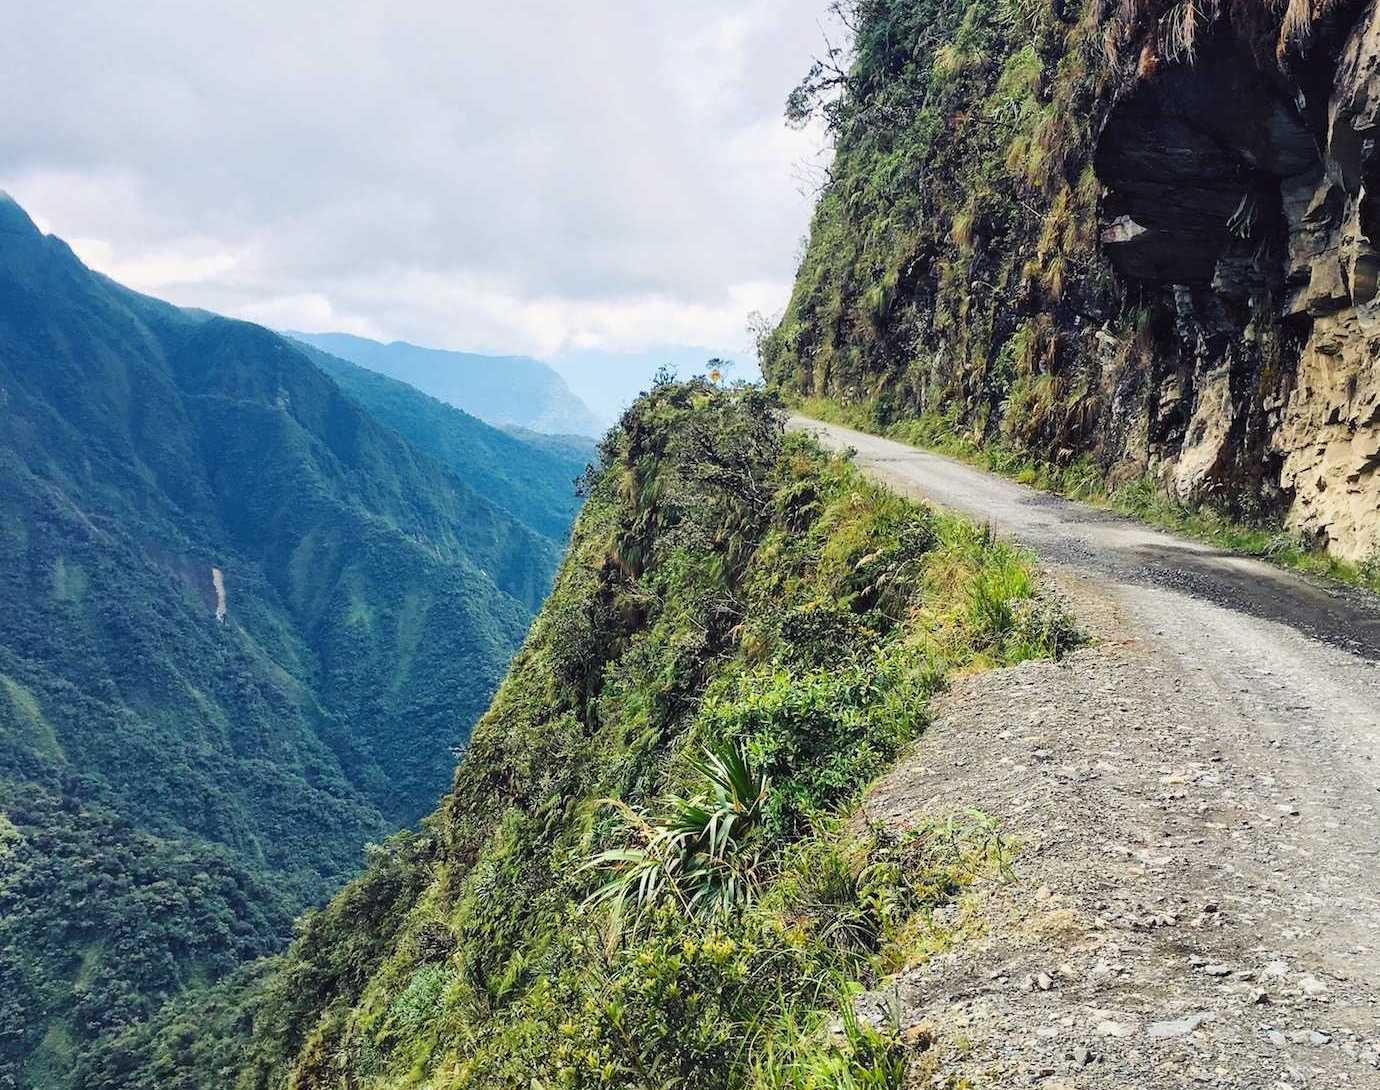
The Yungas road, or more widely known as Death Road, was built to connect the Yungas area to La Paz. Approximately 55km long, the road descends from crazy highs of 4650m to tropical lows of 1200m. Like the name suggests, Death Road has been the scene for a lot of accidents and deaths. It’s estimated that 200-300 people died yearly on it and it soon became known as the world’s most dangerous road.
At the end of 2006 a new alternative road was opened for vehicles. The original Death Road is now frequented by those wishing to test their nerves and resolve biking down it. When in Bolivia, biking Death Road is an experience that tops many travellers’ to do lists.
Now I describe myself as not much of a risk taker when it comes to my physical well being; truthfully I’m a bit of a scaredy-cat! That said, biking Death Road was something I wanted to do and experience. So, ignoring my nerves I plucked up the courage to bike it. Read on for how to choose a company, what to expect from the route and my top 8 tips for a successful ride.
Who to go with?
Choosing a company to bike Death Road with is important. Who you go with will shape how you feel about the whole experience. Generally speaking when it came to booking tours on our South American trip my friend and I would normally choose the cheaper ones (that’s budget travel for you!). However Death Road proved to be one of the exceptions.
We decided that if we were going to bike the World’s Most Dangerous Road we wanted to do it with a reliable and reputable company with a good safety record. In La Paz there are loads of agencies offering Death Road tours. The two most well-known companies are Barracuda Biking and Gravity.
Whilst sharing stories with other backpackers on our travels through Peru we’d heard many fellow backpackers recommend Barracuda Biking. According to Barracuda Biking themselves, they and Gravity are the only two companies legally running Death Road tours. Yes their tour is more expensive than others, but only slightly. Personally, I was happy to pay a bit more and be confident about their standards – e.g. dual suspension bikes and they rotate the bikes used every other day.
We paid around 600 bolivianos to bike Death Road with Barracuda Biking. Included in their price was the bike, gear, guides, photos, transportation, snacks/bottled water, a buffet meal at the end and an ‘I survived Death Road’ t-shirt.
Whatever company you choose to go with, do make sure you ask about the quality and maintenance of the bikes and the gear you’ll be provided with.
Biking Death Road
One sleepless night later it was time to bike Death Road. I couldn’t decide if my lack of sleep was due to my Death Road nerves or my worry of falling off the highest bunk bed ever. It probably was a combo of the two.
At 7.30am we met the rest of our tour group and our two Barracuda Biking guides. If you go with Barracuda Biking, the meet point is the Little Italy restaurant in La Paz. After a check to make sure everyone was there, we piled into the van and were on the road by 8am. It’s about an hour plus drive to the start point.
At the start point, we were given gear and a bike and a chance to get a feel for our bikes. Before setting off and in a ritual offering to Pacha Mama (Mother Earth), we passed around a flask of pure alcohol pouring a bit on the earth, a bit on our bike’s wheel and had a small sip ourselves for courage. It was then go time!
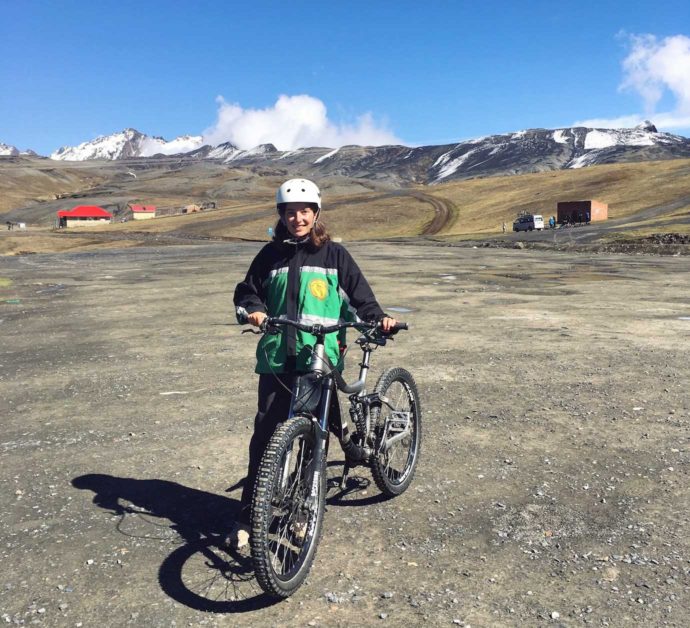
For the first 22km, we actually cycled on a good tarmac road with railings. It wasn’t what I was expecting. It turns out the tarmac road is used as a warm-up and practice to get us comfortable with our bikes for the more dangerous section of Death Road to come. Most of our group built up quite a bit of speed and whizzed down the tarmac. My friend and I were a slightly more cautious.
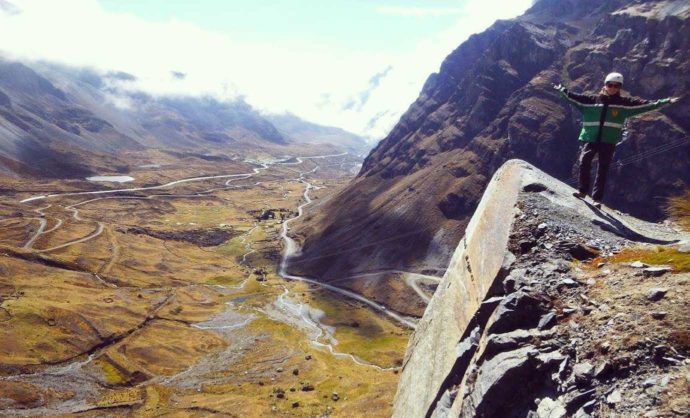
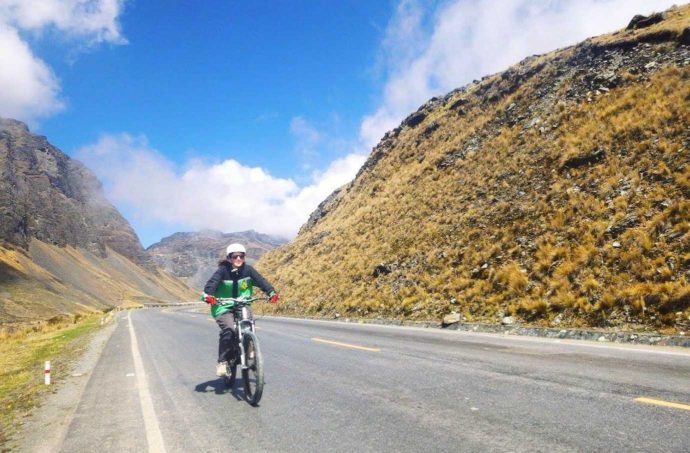
We got our first brief teaser and taster of the gravel road to come at the end of the tarmac stretch. I’ve gotta say the short taster didn’t ease my nerves about what was to come. We then hopped back in the van for the quick drive to the old Death Road.
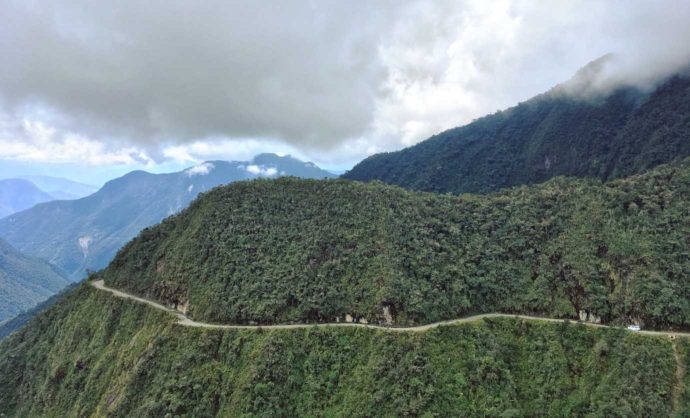
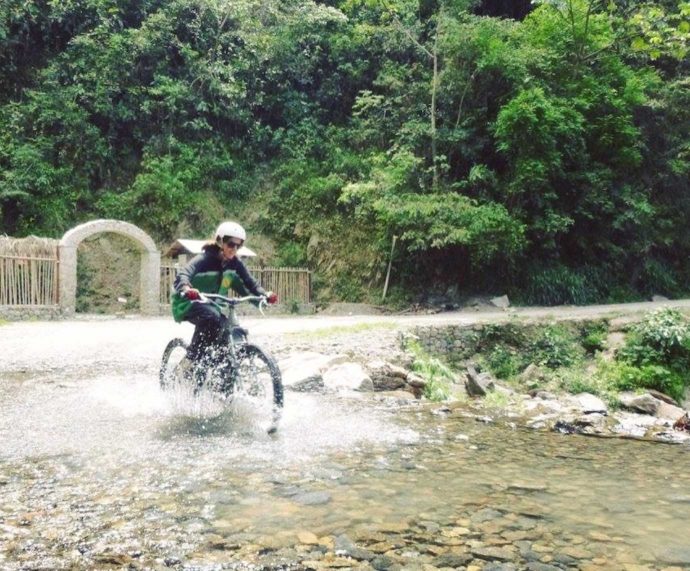
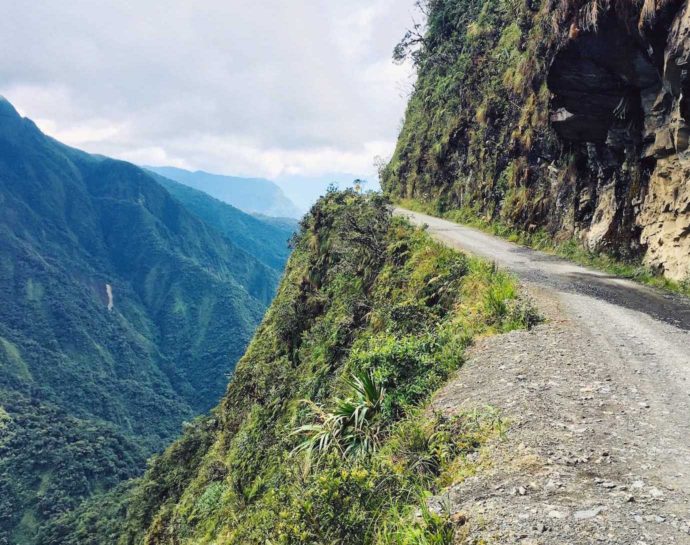
After a talk from our guides and their instructions, we started biking down the original Death Road. This section lasts for 33km and is the challenging part – lots of gravel, loose stones and rocks, potholes, no railings, mini waterfalls running across the path.
You’ll need to focus and concentrate. I still skidded and slipped at times on my bike even though I was being really careful. We passed many memorials during our descent which served as a reminder of what could go wrong. Aside from a few punctures and seriously cramped hands and fingers from braking so much, there were thankfully no accidents and we all lived to tell the tale.
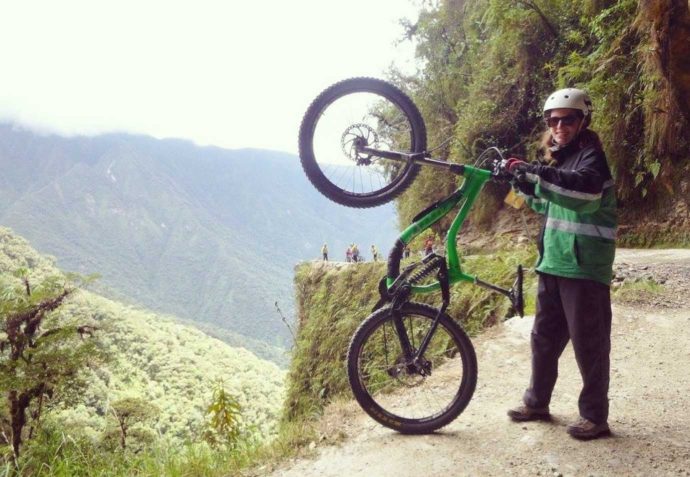
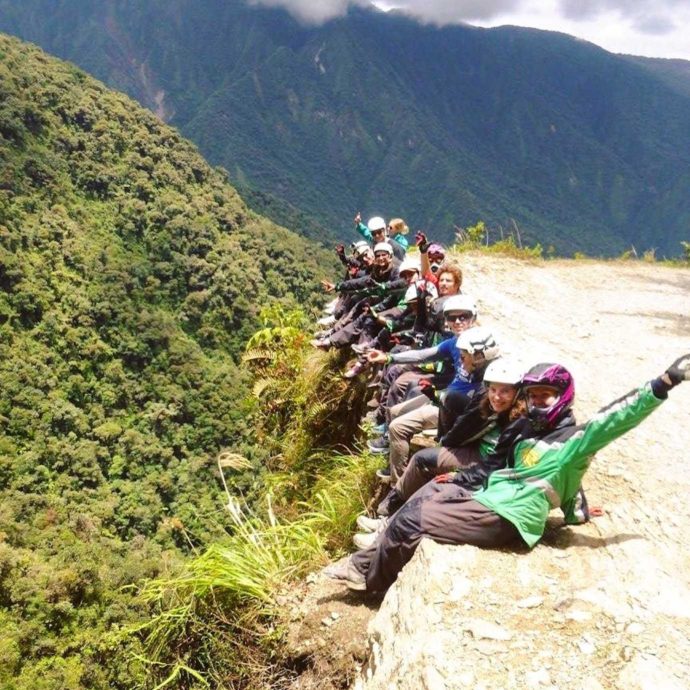
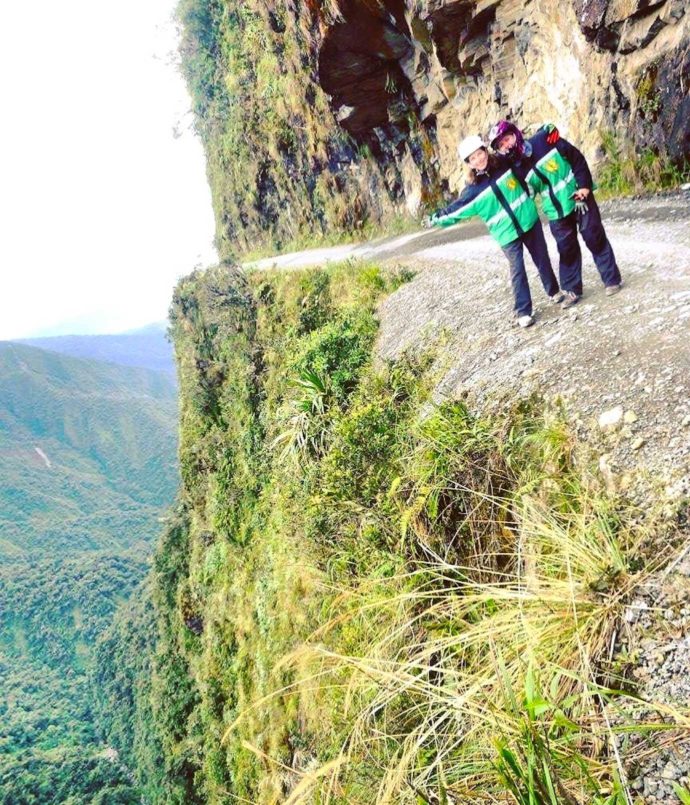
We stopped for several breaks throughout and our guides snapped some shots of us in action. The ride’s not all downhill and towards the end there’s an uphill stretch to pedal up. At this point (if not earlier) having descended from 4600m to 1500m, you’ll probably be getting quite warm and want to take off some layers.
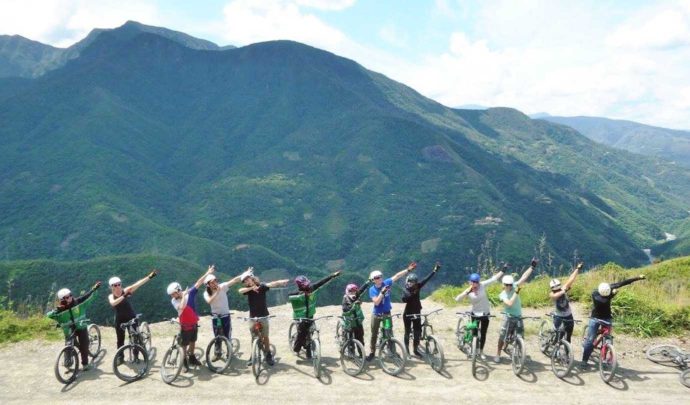
We finished our Death Road tour with a late buffet lunch at a small lodge close by. There was also a swimming pool so bring your swim stuff if you fancy a cooling dip (towels are provided). Also, before heading to the lodge, you could go zip lining if you wanted to.
At 4.30/5pm, the drive back to La Paz started. Instead of going back to La Paz, my friend and I got a taxi onwards to Coroico, a small pueblo surrounded by lush greenery and nature where we we planned to spend a few days before continuing on to Rurrenabaque and the Amazon. We were the only ones in our group to do this, everyone else returned to La Paz.
So I survived the World’s Most Dangerous Road. Biking Death Road would normally fall in the category of a bit too risky for me but I’m glad I did it. It’s crazy that vehicles used to routinely drive this route. I can’t imagine two vehicles passing on it, almost impossible!
8 Tips for biking Death Road
#1 Go at your own pace
I can’t stress this point enough, it’s not a race and it’s better to go at your own pace and have no accidents. If you’re nervous (like I was), don’t feel like you have to keep up with the quick ones. There will always be the speedsters and the more cautious ones and you regroup several times throughout.
I definitely fell into the cautious bracket and it will come as no surprise to those who know me that I was at the back of the group the whole time. I had the second guide in our group, who brings up the rear, behind me throughout our descent. Find a pace that you feel comfortable at and in control.
#2 Don’t go too slow
This might seem contradictory to go at your own pace, but our guides advised us not to go too slow (even if we were nervous). Most of the ride down is on a gravel rocky path. If you go too slowly, you’ll find the gravel jams in the wheels and your bike will lack the momentum to go over bumps on the path.
#3 Get comfortable with your bike, especially the brakes!
Your bike is going to be your best friend on Death Road. It will get you from top to bottom so make sure you feel comfortable on it. Use the time at the start when the bikes are being handed out to get to know your bike and have a practice.
Make sure you know which side your front and back brakes are as they vary by country. You’ll be using the brakes constantly throughout your ride down so you won’t want any nasty brake surprises. You can also get your saddle adjusted if needed.
#4 Don’t slam the brakes
When biking down Death Road you’re going to be using the brakes a lot of the time. Slamming on the brakes will result in skidding and more than likely accidents. You’re best bet is to brake steadily and constantly. By the end, my fingers ached so much – I could barely feel them! I went way slower than most people so I was probably braking a bit too excessively.
#5 Listen to your guides
Pay attention and listen to what your guides have to say. They’ve biked Death Road hundreds of times so know what they’re talking about. They’ll talk to you about the rules to follow for all bikers’ safety. Generally if you’re passing someone, give them plenty of space and verbally let them know you’re coming so you don’t surprise them. Your guide will tell you what to say.
They’ll also tell you what side of the road to bike on, who to give way to and what to do if you meet a vehicle coming the other way (yes some vehicles still drive on it). If you’re not sure about anything, don’t hesitate to ask! The chances are someone else is thinking the same question.
#6 You can always take a break
If you’re finding Death Road a bit too much, you can always take a break. The van that picked you up from La Paz follows the bikers down Death Road. You can hop in the van and put your bike on the roof at any time. In our group, a girl came to her support her boyfriend and sat in the van for most of the descent. She joined in towards the end.
#7 Don’t worry about photos
With Barracuda Biking (and I think most Death Road companies), the guides have a camera and take photos throughout the day. You’ll be sent a link to Dropbox afterwards where you can view and download the photos you’d like. Of course you can take some of your own, but be sensible doing so. Our guides got some great action shots!
#8 Wear your protective layers
Before you start biking you’ll be given gear to wear: helmet, coat, trousers and gloves. Death Road starts at around 4600m so it’s likely you’ll want layers on to keep warm. As you bike down, it’ll get warmer and you’ll want to take off some layers. I’d recommend taking off your inner layers and keeping your coat and trousers on as they will offer your body more protection if you take a tumble.
Have you biked Death Road? Do you have any tips or stories to share?